Tutorial: How to make your underwater photos really POP
I always find it fascinating to see how people edit their images. I love to see before and after shots. I know a lot of photographers don’t agree with editing photos, but personally, I find it just as much fun as taking the shots in the first place. For me, it is an art, my creative outlet. I’ve received quite a few questions about how I make the water in my photos look so clear and detailed, so I’d like to share how I edited this image of silver fishes swimming.
I’d like to start off by showing you what the original image looked like straight from the camera.

Pretty shocking right? Most people would probably look right past this image. You can see that the water wasn’t very clear that day and I didn’t really expose the shot very well. However, this image can be saved because (1) I shot in RAW, and (2) the sun was out - this is very important for underwater photos.
After I did my edits in Lightroom (I won’t cover that here), you can see that the image looks 100 x better.
But it’s still not quite as punchy as I’d like it. All the data is there, I just need to coax it out a little more. This is where I use Google Nix Color Efex Pro. Google used to charge for this but now it is free. You can download it here.
The only downside to this Collection now being free is that Google no longer support it, so if it is not compatible with a new version of Lightroom or Photoshop, Google won’t fix it. For now it works so I’ll enjoy it while I can.
To open your image go to Photo – Edit In – Color Efex Pro 4. Your image will open in the app.

On the left hand side you can see all the filters available. There are lots of great filters in this app, but there are three that I use for underwater shots.
The first thing I do is add some contrast using the Pro Contrast tool. Have a play around with the sliders being careful not to push them too far. One of the things I love about this collection is the ability to see your before and after on the same image. This really helps with not going too far with your edits.

Once I’m happy with the contrast, I’ll try to bring out a few more details using the Detail Extractor filter. For this image, I found that applying this filter to the entire photo, brought out too much noise in the background, so I used the Control Points to add detail to specific areas of the image.

Lastly, and one of the best tools for underwater images, is the White Neutraliser. Here I’ve pushed it pretty far so you can really see the effect, but it’s great at correcting the colours in your image.

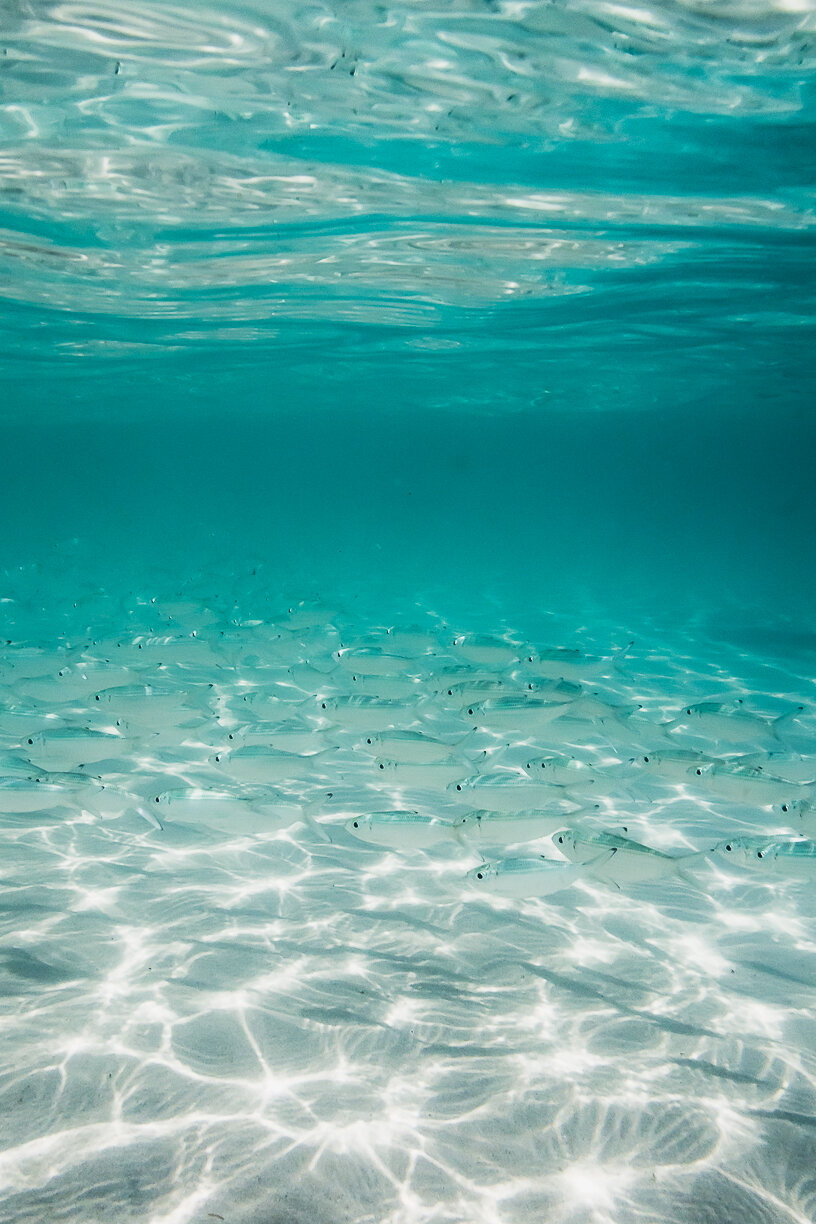
And that’s pretty much it! Press Save and your edited photo will return to Lightroom as a .tif file. You can then carry on editing in Lightroom or Photoshop if you wish. Here's the final image:

There are lots of other filters you can use in Color Efex Pro, not to mention the rest of the Nik collection, which are definitely worth a look, but these three filters I find are all I need for my underwater shots.
I’d love to see how you get on using this collection to bring out the best in your photos. Feel free to send me your before and afters, and let me know what you think of this quick tutorial.
